Handling and Cleaning Procedures for Optical Components
Optical components are delicate and require specific procedures to ensure optimal performance and longevity. During regular use, these components often encounter contaminants like dust, water, and skin oils, which can scatter light off the optical surface and absorb incident radiation. This absorption can cause hot spots that may lead to permanent damage, especially in coated optical components, which are particularly vulnerable to such damage.
This guide provides an overview of standard handling and cleaning procedures for various optical components. Given the diversity in materials, sizes, and sensitivities of optical parts, using the right methods is essential, as a procedure suitable for one component may harm another. Therefore, we recommend reading the entire guide before cleaning any optic. If your specific type or category of optical component is not covered here, please consult the manufacturer for detailed handling and cleaning guidelines.
Proper Handling Techniques for Optical Components
Implementing correct handling techniques reduces the need to clean optical components, thereby extending their lifespan. Always unpack or expose optics in a clean, temperature-controlled environment, and avoid touching optics with bare hands, as skin oils can permanently damage their surface quality. Use gloves, or for smaller components, optical or vacuum tweezers may be helpful. Regardless of the handling method, hold the optic only by its non-optical surfaces, such as the ground edges, whenever possible.
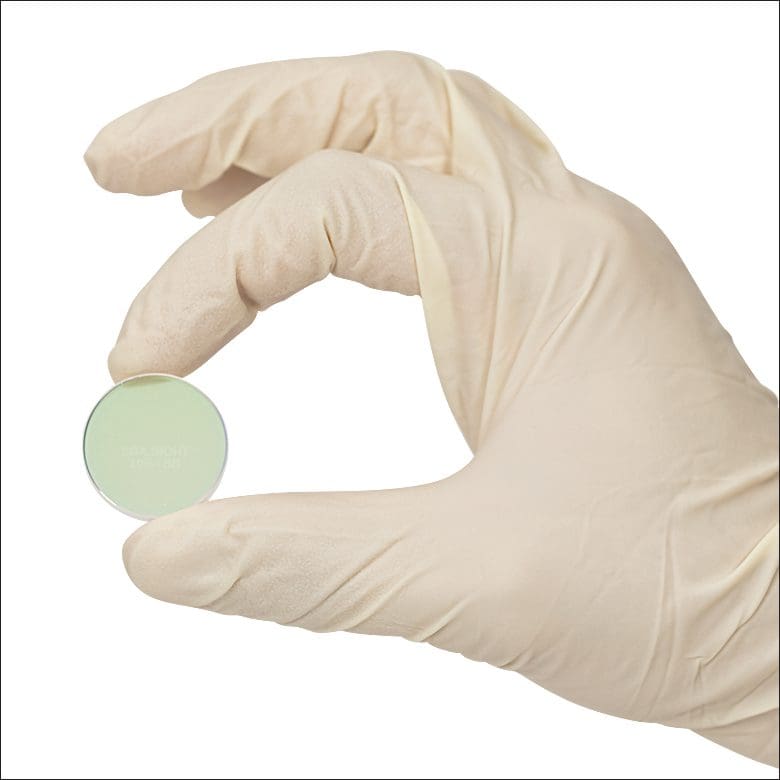
Important: Never touch the optical surface of sensitive components like holographic gratings, ruled gratings, first-surface unprotected metallic mirrors, and pellicle beamsplitters (this list is not exhaustive). These surfaces are highly sensitive, and any physical contact will result in damage.
Caution: Many crystals (e.g., calcite polarizers, beam displacers, lithium niobate wafers, and EO modulators) are sensitive to temperature and can crack when exposed to thermal shock. Always allow the package and contents to reach thermal equilibrium before opening. These crystals are also softer than typical optics, necessitating extra care during handling and cleaning.
Storage Guidelines for Optical Components
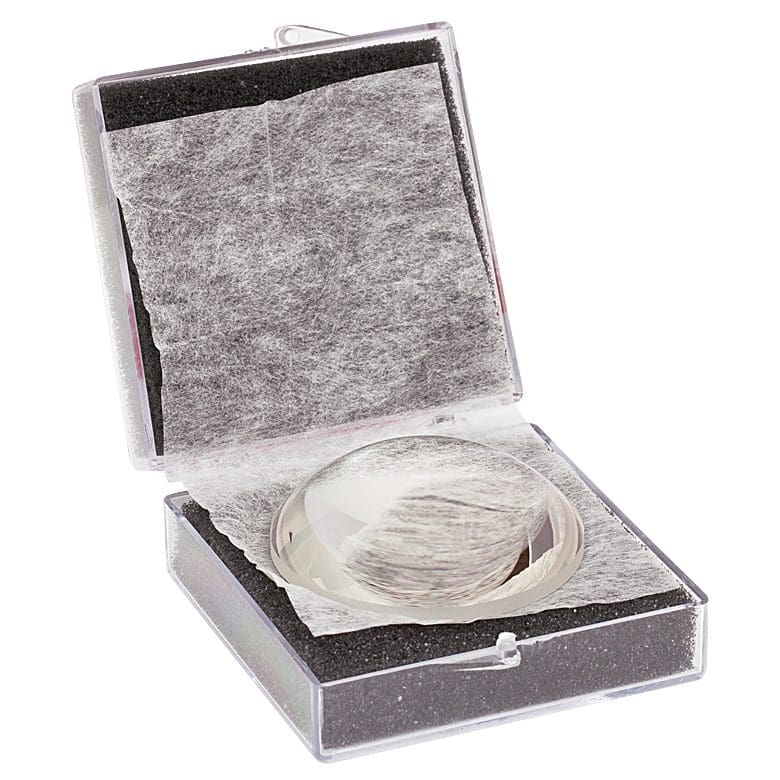
Avoid placing optics directly on hard surfaces, as any contaminant on either the optic or the surface may become embedded, damaging the component. Instead, most optics should be wrapped in lens tissue and stored in an optic storage box specifically designed for them. Ideally, the storage environment should have low humidity, minimal contaminants, and controlled temperature. Optics are highly susceptible to scratches and contamination, and some optical coatings are hygroscopic, making proper storage essential for maintaining the quality and longevity of the optical component.
Inspection and Cleaning of Optical Components
Optics should generally be inspected before use, and both before and after cleaning. Given the small size of many contaminants and surface defects, using a magnification device during inspection is often essential. Additionally, shining a bright light onto the optical surface can help highlight specular reflections from contaminants and defects.
Inspecting Coated Surfaces
For reflectively coated surfaces, hold the optic nearly parallel to your line of sight. This angle allows you to detect contamination without being distracted by reflections. For polished surfaces, such as lenses, hold the optic perpendicular to your line of sight to observe through the material.
Assessing Surface Defects
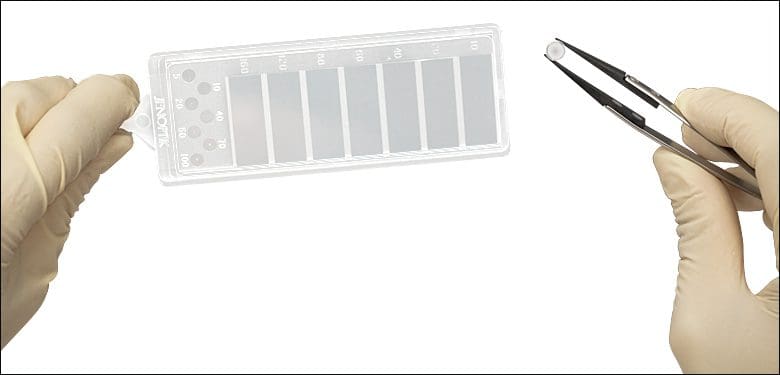
If you find a defect on a clean optical surface, a scratch-dig paddle can be used to evaluate its size. By comparing the size of the defect to calibrated standards on the paddle, you can determine if it exceeds the manufacturer’s scratch-dig specification. If it does, replacing the optic may be necessary to maintain optimal performance.
Cleaning Procedures for Optical Components
Always refer to the manufacturer’s recommended cleaning and handling procedures when available. Since cleaning an optic usually involves handling it, following proper handling practices throughout the cleaning process is crucial, as improper handling or cleaning can lead to permanent damage.
Inspecting Before Cleaning
Before cleaning an optic, inspect it carefully to determine the type and severity of contaminants. This step is essential as cleaning typically involves solvents and physical contact, which may damage the surface if done repeatedly. For optics with multiple contaminants, consider the order in which they should be removed; for example, if both dust and oil are present, wiping the oil first could scratch the optic by dragging the dust particles along the surface.
Blowing Off Loose Contaminants
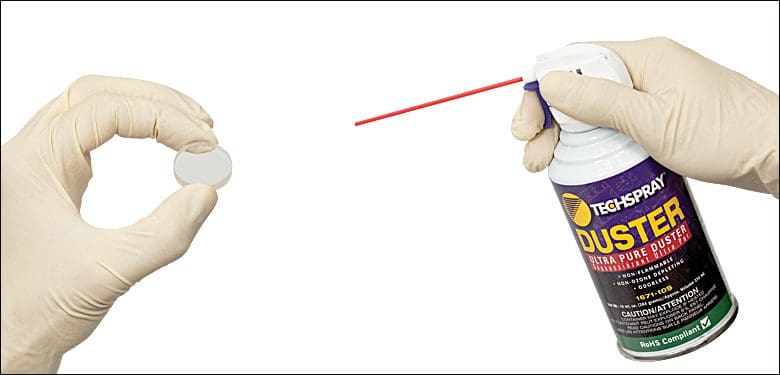
For dust and other loose contaminants, begin by blowing them off the surface. Use a canister of inert dusting gas or a blower bulb, avoiding blowing with your mouth to prevent saliva droplets from reaching the surface. If using canned gas, hold the can upright and avoid shaking it. Start the flow of gas away from the optic, then hold the can about 6 inches (15 cm) from the optic and use short blasts at a grazing angle. For larger surfaces, move the nozzle in a figure-eight pattern across the surface.
This non-contact, solvent-free method is suitable for most optics, and is the only recommended approach for sensitive optics such as holographic gratings, ruled gratings, unprotected metallic mirrors, calcite polarizers, and pellicle beamsplitters.
Cautions for Specific Optics:
- Pellicle Beamsplitters: The 2 μm thick nitrocellulose membrane is extremely fragile. Keep the can of air sufficiently distant to avoid breaking the membrane.
- Calcite Polarizers: The polished escape face is delicate; avoid direct air blasts that could damage it.
Alternative Cleaning Methods
If blowing off contaminants is insufficient, other cleaning methods can be used. Always use clean, moist wipes and optical-grade solvents to prevent damage. Suitable wipes (from softest to firmer options) include pure cotton (like Webril Wipes or cotton balls), lens tissue, and cotton-tipped applicators.
Common solvents include acetone, methanol, and isopropyl alcohol. Handle all solvents carefully, as they are often toxic, flammable, or both. Refer to product and MSDS sheets for safety information.
Washing the Optic
For stubborn contaminants such as fingerprints or large dust particles, immersion in a mild solution of distilled water and optical soap may be approved by the manufacturer. The optic should only remain submerged long enough to remove contaminants, followed by rinsing with clean distilled water. To accelerate drying, use a quick-drying solvent like acetone or methanol, applying it with the Drop and Drag or Lens Tissue (applicator) methods. Avoid letting cleaning solutions pool on the surface, as this can cause streaks as they dry.
Drop and Drag Method for Cleaning Optical Surfaces
The Drop and Drag Method is ideal for cleaning flat optical surfaces elevated from surrounding areas. Begin by inspecting the optic to identify contaminant locations, allowing you to plan your drag path so contaminants are lifted off the optic quickly, minimizing any risk of scratching.
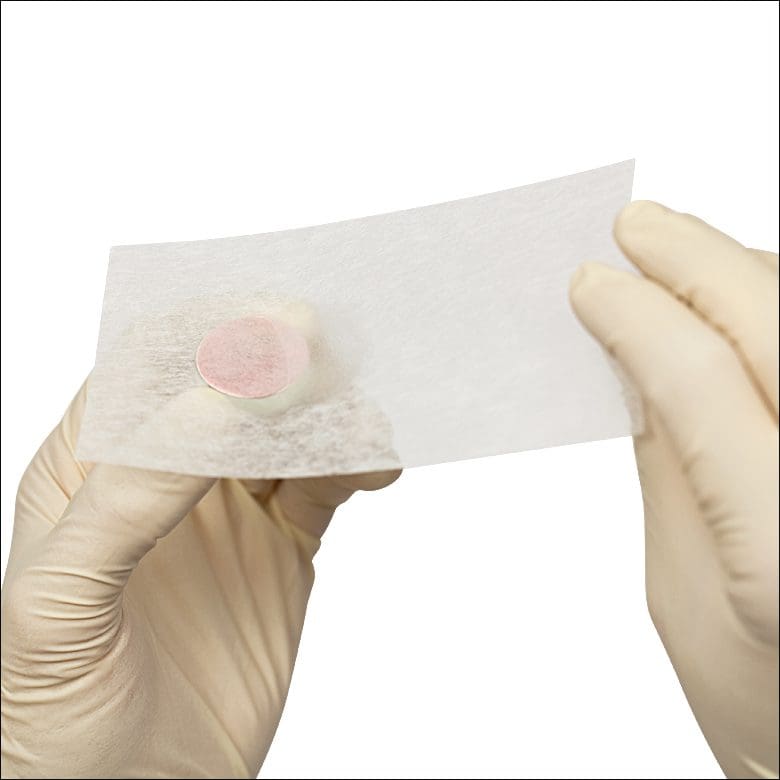
Step-by-Step Guide:
- Prepare the Optic: Place or hold the optic so it remains stable against any slight lateral pressure during cleaning.
- Position the Lens Tissue: Take a fresh, clean sheet of lens tissue and hold it just above, but not touching, the optic, ensuring that it will be drawn across the optical surface during the drag.
- Apply Solvent: Place one or two drops of an approved quick-drying solvent onto the lens tissue above the optic. The weight of the solvent will bring the tissue into gentle contact with the optical surface.
- Drag the Tissue: Slowly and steadily drag the damp lens tissue across the optic, avoiding lifting the tissue until it clears the optical surface. The ideal amount of solvent keeps the tissue damp throughout the drag but leaves no visible residue once complete.
Inspect the optic afterward and repeat if needed, but always use a new sheet of lens tissue for each pass. This gentle-contact method effectively removes light particles and oils and is widely preferred for its minimal contact with the optical surface. Heavier contaminant buildup may require additional applications of the method.
Lens Tissue with Forceps or Applicator Method for Cleaning Optics
The Lens Tissue with Forceps or Applicator Method is ideal for cleaning mounted or curved optics that require solvent application. Begin by inspecting the optic to identify contaminants and plan a wiping path to minimize dragging large particles across the surface.
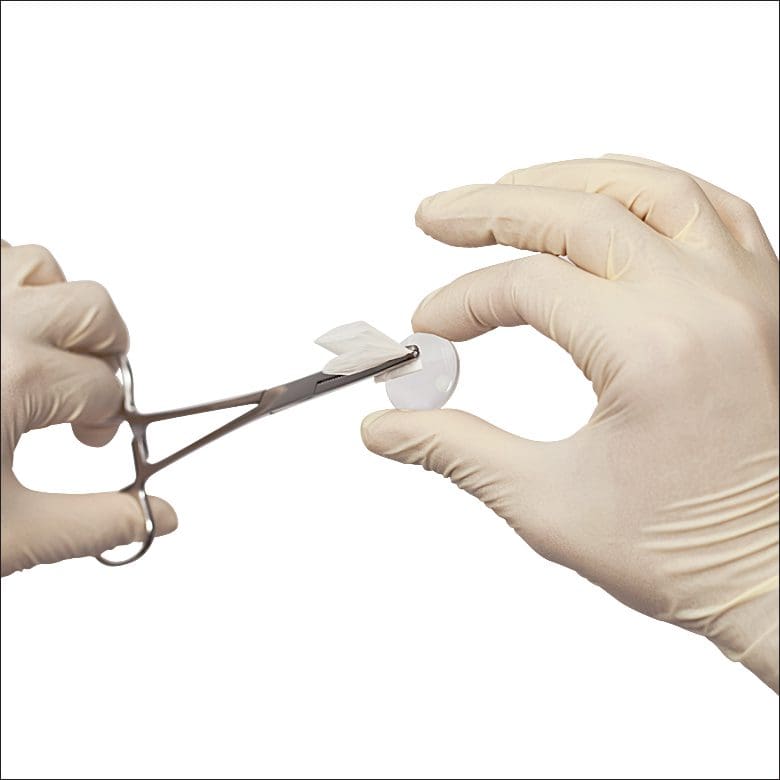
Step-by-Step Guide:
- Prepare the Lens Tissue: Fold the lens tissue to ensure that only untouched portions contact the optic, then securely clamp it with forceps in a way that allows for a smooth wiping motion.
- Apply Solvent: Place a few drops of solvent onto the lens tissue, keeping it damp but not dripping. If excessive solvent is applied, shake off the excess safely.
- Wipe the Surface: Gently wipe the optic with a smooth motion. As you wipe, rotate the tissue slowly to constantly shift the contact point, lifting away accumulated contaminants.
Post-Cleaning Inspection: After wiping, inspect for any remaining contaminants or streaks. If needed, repeat with a new lens tissue. Streaks often result from excessive solvent; reducing solvent quantity or using a larger applicator can help. For spiral or snaking wipe paths, a slower-drying solvent may prevent premature drying before the wipe is complete.
Cleaning Optics with Webril Wipes
Webril Wipes are soft, pure-cotton wipes ideal for most optics, as they hold solvent well, dry slower than lens tissue or cotton-tipped applicators, and maintain durability. However, their outer edges can leave lint, so always use a folded edge when cleaning.
Step-by-Step Guide for Different Optic Sizes:
- For Smaller Optics: Roll the Webril wipe into a cone, positioning the folded edge at the tip, then moisten the tip with solvent to use as the wiping area.
- For Larger Optics: Cut the wipe into three pieces (approximately 2.6” x 4”), fold one piece lengthwise to 1.3” x 4”, and then make a 1” fold from the end. Moisten this final folded edge with solvent and use it to wipe the optical surface. A pump bottle can help dispense solvent easily with one hand while holding the optic in the other.
Cleaning Process:
Wear gloves or finger cots to avoid transferring oils. Pick up the optic in one hand and lightly wipe the Webril wipe across the surface in a continuous, slow motion to prevent streaks. Adjust solvent quantity, wiping pressure, and speed as needed, as wiping times vary depending on the solvent used. For example, with acetone, a faster wipe is required than with alcohol, as acetone dries more quickly.
This method helps achieve a clean optical surface with minimal risk of streaks or lint residue.
Important Notes for Cleaning Optical Components
- Ensure Optics Are Cool: Always allow optics to cool before cleaning to avoid thermal shock and potential damage.
- Follow Handling Techniques: Adhere to the recommended handling procedures to protect the optic’s surface and structural integrity.
- Avoid Immersing Cemented Optics: Cemented optics should never be immersed in any cleaning solution, as it may damage the bonding material.
- Handle Cleaning Agents Carefully: Many cleaning agents are toxic or flammable. Review product labels and safety data sheets thoroughly before use.
By practicing proper handling and cleaning procedures, you can extend the lifetime of your optical components. For any questions, feel free to contact our Technical Support team.
