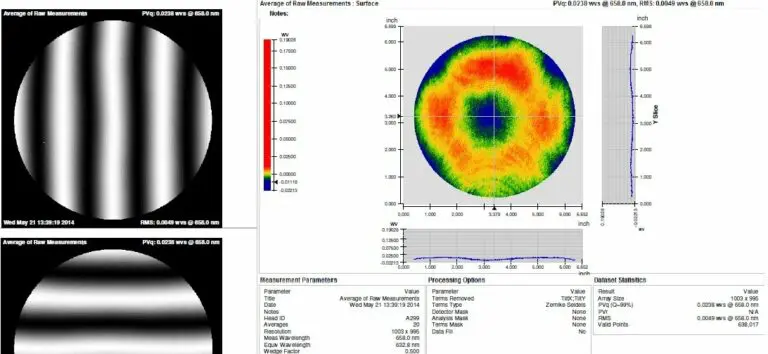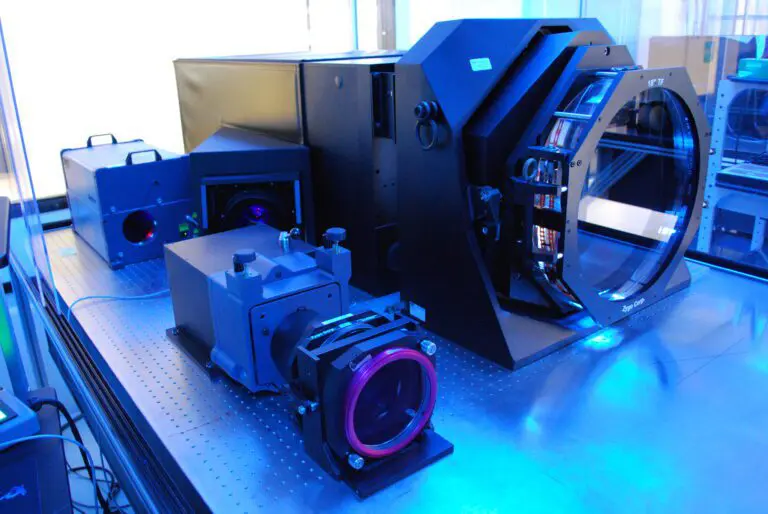


Notch Optics uses a range of interferometers (632.8nm, 1064nm) and advanced interferometric techniques to meet the demands of the optics industry.
From basic fringe analysis on the shop floor to high-precision measurements with dynamic and phase-shifting interferometers, Notch Optics relies on these methods to assess various optical parameters.
These include surface figure, irregularity, radii, transmitted wavefront error, aberrations, 90° angles, beam deviation (transmitted and reflected), wedge magnitude/parallelism, slope, and homogeneity testing.
We support data import/export formats such as 4D (.h5), Wyko (.opd), Opticode (.map), MetroPro (.dat), CODE V (.int), ESD, and HDF4 (.HDF).
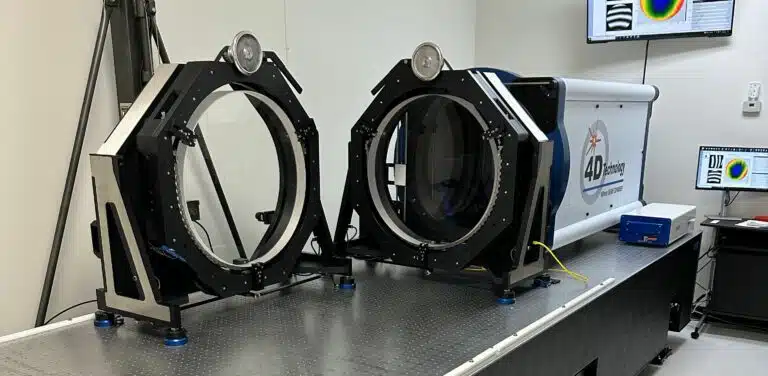
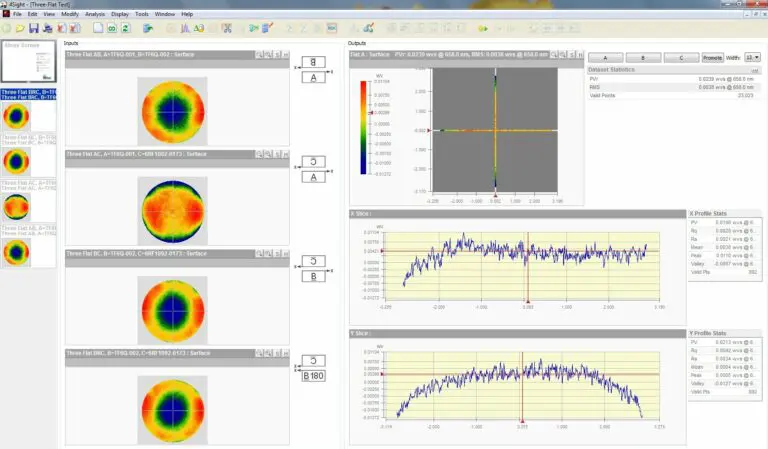
Notch Optics produces most of its own transmission and reference flats with precision better than lambda/50. Using our 457.2mm reference flat, we can measure transmitted wavefront error and conduct homogeneity testing over large apertures.
Our AOS custom electronic tip/tilt mount can handle optics up to 660mm in diameter, and we manufacture custom tip/tilt plates and tooling for specialized needs.
We are experienced in setups such as single-pass and double-pass prism testing, 90° internal and external measurements, parallelism, beam deviation, multi-region analysis, and homogeneity testing.
Our RMS repeatability is typically around lambda/10,000, with an angular accuracy of ± 0.1 arc seconds.

